If you have a Tumblr, and aren’t paying for a theme to be either custom made for you, or one of the pre-made ones you can buy, you’ve probably come across the problem of your post size not being the size that you want it.
We had a client requesting that the images they post on their Tumblr be larger than the standard sizes that Tumblr offers, which range up to 500px wide. For an image intensive blog, as Tumblr often is used for, this is important.
So, how do you do this. Pretty simple actually.
- Go to your theme dashboard
- On the right, there should be customize theme
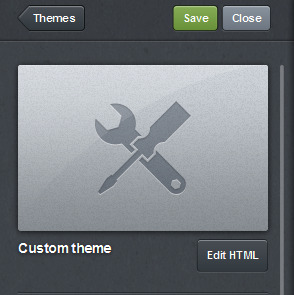
- Click edit html
- Now, here’s where it takes a bit of HTML/CSS coding skills. Browse to a secion within <style></style> tags (most likely) to find a section illumiated by something that is along the lines of “Photo Post“. This specific post looked like:/*Photo Post*/
.photo {
width: 850px;
height: auto;
}.photo .img {
float: left;
border-style: none;
border-width: 0;
margin-left: 50px;}
.photo img {
border: 2px solid {color:Shade2};
width: 850px;
height: auto;
-webkit-transition: all .40s linear;
-moz-transition: all .40s linear;
-o-transition: all .40s linear;
transition: all .40s linear;
opacity: 0.7;
}.photo img:hover {
border: 2px solid {color:Shade1};
width: 850px;
height: auto;
-webkit-transition: all .40s linear;
-moz-transition: all .40s linear;
-o-transition: all .40s linear;
transition: all .40s linear;
opacity: 1.0;
} - You’ll notice above how there are bold settings, these are what you need to insert (width & height).
To explain this a little bit, the “.photo” is a definition of a class in the CSS language, which allows you to edit any elements within the <body> of the page with what you change there. img is the image element, given to all inserted photos in HTML, and when they are cascaded like you see in .photo img:hover this means any element with a class=”photo” tag, that is nested as an <img> as a link, the properties will be defined for when you hover over it. - You can change the width to whatever size you so desire, I always like 850px because I like my images nice and big.
- Next, we need to go into the body element of the HTML (between <body></body> tags) and find the section titled {block:Photo}. This is pretty standard for Tumblr.
- Within here, change “ <img src=”{PhotoURL-500}” (it may be something different than 500) to “<img src=”{PhotoURL-HighRes}“.
- Click Update Preview at the top of the editing page, which should show you the larger image you’re looking for.
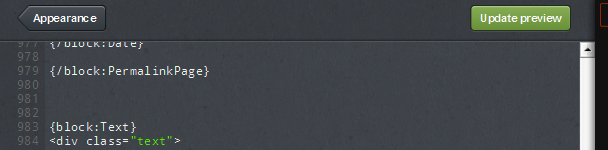
- Click Appearance -> Save -> Close and go back to your Tumblr blog and click refresh and you should see the larger image now!
A couple of things to note. In step 9, when you click on Update preview, it should show you what you’re hoping for, or else something is probably going wrong. Make sure that step 4 and 7 you have found the right blocks, for if you’re in Video or Photoset, you won’t be changing the individual posts of photos, instead, you’ll be changing what it is the block is called (Video or Photoset for example).
Also, when editing Tumblr HTML, you need to complete step 10 completely before the changes take effect.
Good luck!
To reference some more photo settings for Tumblr, head here.